


When it comes to maintaining your BMW, one of the crucial components that often requires attention are the ignition coils. These essential parts play a vital role in ensuring that your engine runs smoothly and efficiently by converting the battery’s voltage into the high voltage needed to ignite the fuel-air mixture. Over time, however, ignition coils can wear out or fail, leading to engine misfires, reduced performance, and increased fuel consumption.
Replacing ignition coils in your BMW requires some basic tools and knowledge, but it is a task that can be accomplished with patience and precision. This step-by-step guide will walk you through the entire process, from gathering necessary materials to completing the installation with confidence. Understanding when and why to replace these components can save you time and money in the long run, ensuring your BMW continues to deliver the performance you expect.
In this guide, we will also discuss common symptoms of failing ignition coils and provide tips to help you identify which coils may need replacing. With accurate information and a clear approach, you will be well-equipped to tackle this project and keep your BMW running at its best.
Identifying Symptoms of Faulty Ignition Coils in BMW Vehicles
Faulty ignition coils can lead to various performance issues in your BMW. Recognizing the symptoms early can save you from more extensive repairs down the road. One of the most common indicators of failing ignition coils is a noticeable misfire. This may manifest as a rough engine idle or stuttering during acceleration, often caused by inadequate spark delivery to the engine.
Another significant symptom to watch for is reduced fuel efficiency. If your BMW consumes more fuel than usual, it could be due to malfunctioning coils failing to ignite the air-fuel mixture properly. This inefficiency often results in higher emissions as well.
Additionally, you may experience difficulty starting your vehicle. A faulty ignition coil may prevent the engine from firing correctly, leading to delayed start-up or a complete failure to start. If you notice this symptom, it’s essential to check the coils promptly.
The presence of the Check Engine Light on the dashboard is also a critical warning sign. A diagnostic scan may reveal specific error codes associated with the ignition system, indicating potential coil issues. Ignoring this warning can lead to further complications with engine performance.
Finally, unusual engine noises, such as backfiring, can occur due to inconsistent spark from the ignition coils. This irregular combustion can affect overall engine function and should be investigated promptly. Monitoring these symptoms can help maintain your BMW’s performance and longevity.
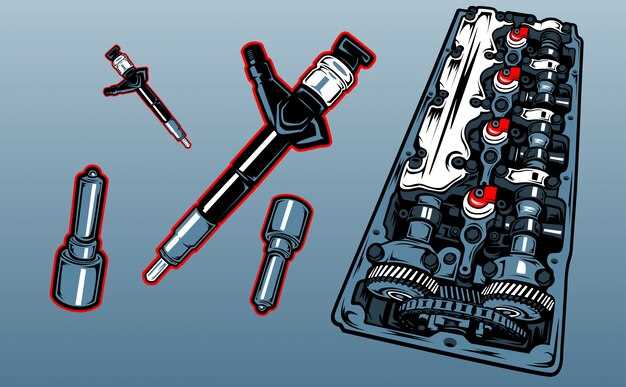
Tools and Materials Needed for BMW Ignition Coil Replacement
When replacing the ignition coils in your BMW, having the right tools and materials is crucial for a successful job. Below is a list of what you will need.
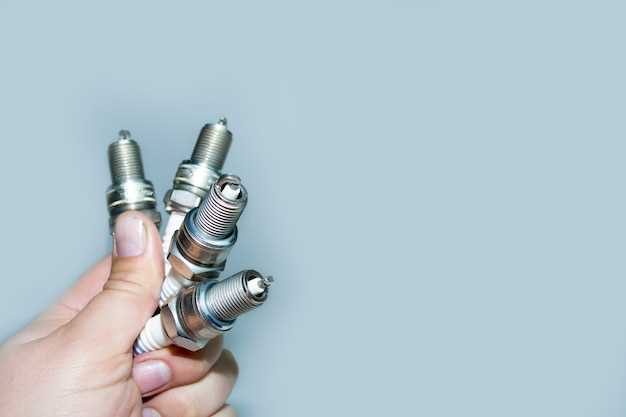
1. New Ignition Coils: Make sure to purchase high-quality ignition coils that are compatible with your specific BMW model. These spark coils play a vital role in delivering the spark needed for engine combustion.
2. Socket Set: A metric socket set is essential to remove the bolts securing the ignition coils. Typically, you will need sizes such as 8mm, 10mm, or 12mm, depending on your BMW model.
3. Ratchet and Extensions: A ratchet will allow you to tighten or loosen bolts efficiently. Extensions are useful for reaching hard-to-access areas around the engine.
4. Torque Wrench: Using a torque wrench ensures that you fasten bolts to the manufacturer’s specifications, which is critical for the proper functioning of the ignition coils.
5. Screwdriver Set: A set of screwdrivers, including flathead and Phillips types, may be necessary for removing any additional components obstructing access to the ignition coils.
6. Pliers: Pliers will help in handling electrical connectors and any components that may require a firm grip during the replacement process.
7. Clean Cloth: A clean cloth is handy for wiping excess oil or dirt off surfaces before installing the new ignition coils, ensuring a good connection.
8. Electrical Contact Cleaner: This cleaner will help you clean the electrical connectors for the ignition coils, promoting better electrical conductivity.
9. Safety Gear: Don’t forget to wear safety glasses and gloves to protect yourself while working on your vehicle.
By gathering these tools and materials beforehand, you can streamline the process of replacing the ignition coils in your BMW, ensuring a smoother and more efficient repair experience.
Step-by-Step Procedure to Replace Ignition Coils on BMW Models
Replacing ignition coils in BMW models is a straightforward process that can enhance engine performance and fuel efficiency. Follow this step-by-step guide to ensure a successful replacement.
Step 1: Gather Necessary Tools
Before beginning, collect all necessary tools, including a socket set, torque wrench, ratchet, and a flathead screwdriver. Ensure you have new ignition coils and spark plugs if required.
Step 2: Disconnect the Battery
Safety is paramount. Start by disconnecting the negative terminal of the battery to prevent any electrical shorts or shocks during the replacement process.
Step 3: Remove Engine Cover
Depending on your BMW model, you may need to remove the engine cover. Use the appropriate socket to remove the bolts holding the cover in place and set it aside.
Step 4: Locate Ignition Coils
Identify the ignition coils on your engine. They are usually positioned directly above the spark plugs. Take a moment to examine their connections before proceeding.
Step 5: Disconnect Ignition Coil Wiring Harness
Carefully unplug the electrical connector from each ignition coil. Press the tab on the connector and pull it away gently to avoid damaging the wiring.
Step 6: Remove Ignition Coils
Using a socket wrench, remove the bolts holding the ignition coils in place. Carefully lift each coil out of its respective slot. Check for any signs of damage or wear.
Step 7: Install New Ignition Coils
Take the new ignition coils and align them with the mounting holes. Press down firmly and secure them with the bolts, ensuring they are tightened to the manufacturer’s specifications.
Step 8: Reconnect Wiring Harness
Reattach the electrical connectors to each ignition coil. Ensure each connection clicks into place securely to maintain proper electrical contact.
Step 9: Reinstall Engine Cover
If you removed the engine cover, place it back on and screw it into position, ensuring that all fasteners are tightened correctly.
Step 10: Reconnect the Battery
Finally, reconnect the negative terminal of the battery. Double-check all connections and components to ensure everything is in place before starting the engine.
Step 11: Test Your Installation
Start the engine and listen for smooth operation. Monitor for any warning lights on the dashboard. If everything is functioning correctly, you have successfully replaced the ignition coils.

