


When it comes to maintaining your BMW, ensuring that the cooling system operates efficiently is paramount. One of the critical components in this system are the radiator hoses, which transport coolant to and from the engine. Over time, these hoses can develop wear and tear, leading to leaks that may cause serious engine overheating and potential damage.
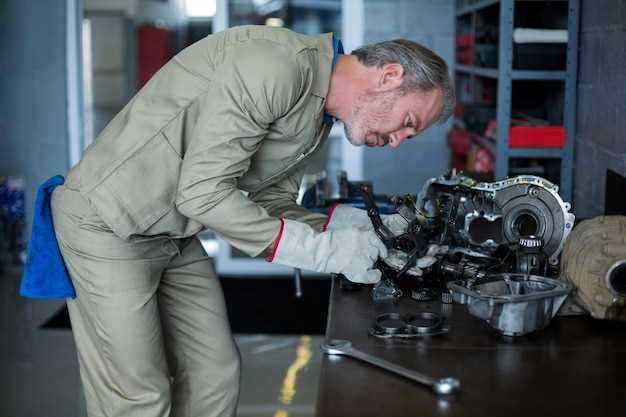
Replacing radiator hoses in your BMW might seem like a daunting task, but with the right tools and guidance, you can tackle this job effectively. Not only will this prevent coolant leaks, but it will also enhance the overall performance and longevity of your vehicle. In this guide, we’ll walk you through the step-by-step process of replacing your BMW’s radiator hoses, ensuring a smooth and efficient repair.
Whether you are a seasoned mechanic or a DIY enthusiast, understanding how to replace the radiator hoses will empower you to take control of your vehicle’s maintenance. Follow along as we break down the process into manageable steps, helping you safeguard your BMW against overheating and costly repairs.
Identifying Signs of a Leak in BMW Radiator Hoses
Detecting a leak in your BMW radiator hoses is crucial for maintaining the vehicle’s cooling system. One of the most visible signs of a leak is coolant pooling under the car, often found directly beneath the radiator or hose connections. This visible coolant can vary in color, typically green, orange, or pink, depending on the type used in your BMW.
Another indication of a leak is the presence of steam or an unusual odor while driving. If you notice steam rising from the engine compartment, it often signals overheating, which could be caused by a loss of coolant due to a hose leak. Additionally, a sweet smell around the engine can also indicate coolant vapor escaping through a damaged hose.
Inspections of the radiator hoses themselves are vital. Look for any signs of wear, such as cracks, bulges, or fraying. These physical abnormalities can be early indicators of potential leaks. If the hoses feel soft or spongy when squeezed, it may mean they are beginning to deteriorate and become prone to leaking.
Monitoring the coolant level in the expansion tank is another essential step. A consistently low coolant level without noticeable leaks outside may suggest a leak in the hoses that isn’t immediately visible. It’s important to check levels regularly to catch any potential issues early.
Lastly, regularly observe the temperature gauge on your dashboard. If the temperature rises above the normal range, it may indicate that the radiator hoses are not functioning properly due to a leak, leading to insufficient coolant flow. Identifying these signs early can help prevent more extensive damage to your BMW’s engine and cooling system.
Tools and Materials Needed for BMW Radiator Hose Replacement
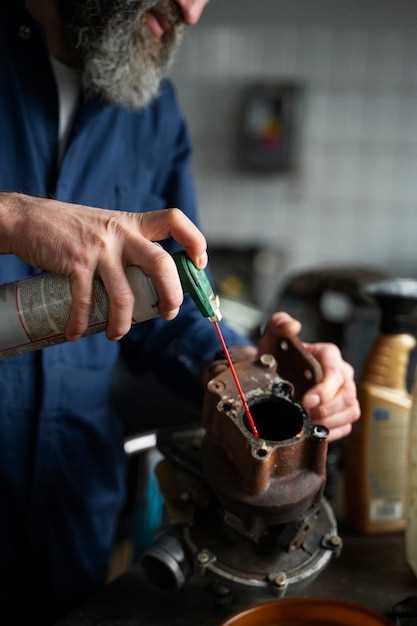
To successfully replace the radiator hoses on your BMW, you will need a selection of tools and materials. Having the right items on hand will ensure a smooth and efficient process. Below is a comprehensive list of what you will require:
Tools:
1. Socket Set: A complete socket set will help you remove any bolts securing the radiator or related components.
2. Pliers: Needle-nose pliers are useful for removing hose clamps that may be difficult to access.
3. Screwdrivers: Flathead and Phillips screwdrivers are needed for various fastening tasks during the hose replacement.
4. Hose Clamp Tool: This specialized tool makes it easier to install and remove hose clamps without damaging them.
5. Coolant Drain Pan: A drain pan is essential for catching any coolant that drains from the system when you remove the old hoses to prevent spills.
6. Torque Wrench: This tool ensures you tighten bolts to the manufacturer’s specifications, avoiding leaks caused by over-tightening.
Materials:
1. Replacement Radiator Hoses: Ensure you purchase the correct hoses specific to your BMW model to prevent misfits.
2. New Hose Clamps: High-quality hose clamps should be used to secure the new hoses tightly, preventing future leaks.
3. Coolant: Fresh coolant will be required to refill the radiator system after replacing the hoses. Make sure to use the correct type specified for your vehicle.
4. Cleaning Rags: Have some rags on hand to clean up any spills and to wipe off fittings before securing the new hoses.
5. Thread Sealant (optional): If needed, a thread sealant can be applied to threaded connections to prevent potential leaks.
Having the right tools and materials will facilitate the radiator hose replacement process, ensuring efficiency and reducing the likelihood of leaks after the installation.
Step-by-Step Guide to Installing New Radiator Hoses on BMW
Replacing the radiator hoses on your BMW is essential to prevent coolant leaks and ensure optimal engine temperature. Follow this guide for a smooth installation process.
Step 1: Gather Necessary Tools and Materials
Before starting, ensure you have the required tools: a socket set, pliers, a coolant catch pan, and new radiator hoses specific to your BMW model. A funnel may also be helpful for pouring coolant.
Step 2: Drain the Coolant
Begin by draining the coolant from the radiator. Locate the drain plug at the bottom of the radiator and place your catch pan underneath. Open the plug and allow the coolant to fully drain out. Be cautious, as the coolant may still be warm.
Step 3: Remove Old Radiator Hoses
Once the coolant is drained, locate the clamps securing the radiator hoses to the radiator and engine. Use pliers to loosen and remove the clamps. Gently twist and pull the hoses off. Inspect the old hoses for signs of wear or leaks.
Step 4: Install New Radiator Hoses
Take the new radiator hoses and align them with the corresponding connection points on the radiator and engine. Push the hoses onto the fittings, ensuring a snug fit. Reattach the clamps securely to prevent any future leaks.
Step 5: Refill the Cooling System
With the new hoses installed, it’s time to refill the cooling system. Using a funnel, pour the appropriate type of coolant into the radiator, making sure to follow the manufacturer’s specifications for your BMW. Fill until the coolant reaches the recommended level.
Step 6: Bleed the Cooling System
To eliminate air pockets, start the engine and let it run for a few minutes with the radiator cap off. As the engine warms, the thermostat will open, allowing coolant to circulate. Keep an eye on the coolant level and top off if necessary.
Step 7: Check for Leaks
After the engine has run for a few minutes, turn it off and inspect the new hoses and connections for any signs of leaks. Look for any coolant pooling under the vehicle. If there are no leaks, you have successfully replaced the radiator hoses.
Step 8: Final Checks and Cleanup
Replace the radiator cap securely, dispose of the old coolant responsibly, and clean any spills. Make sure to regularly check the coolant level in the following days to ensure everything is functioning properly.

